LASERS 101:
How Co2 Lasers Cut Acrylic
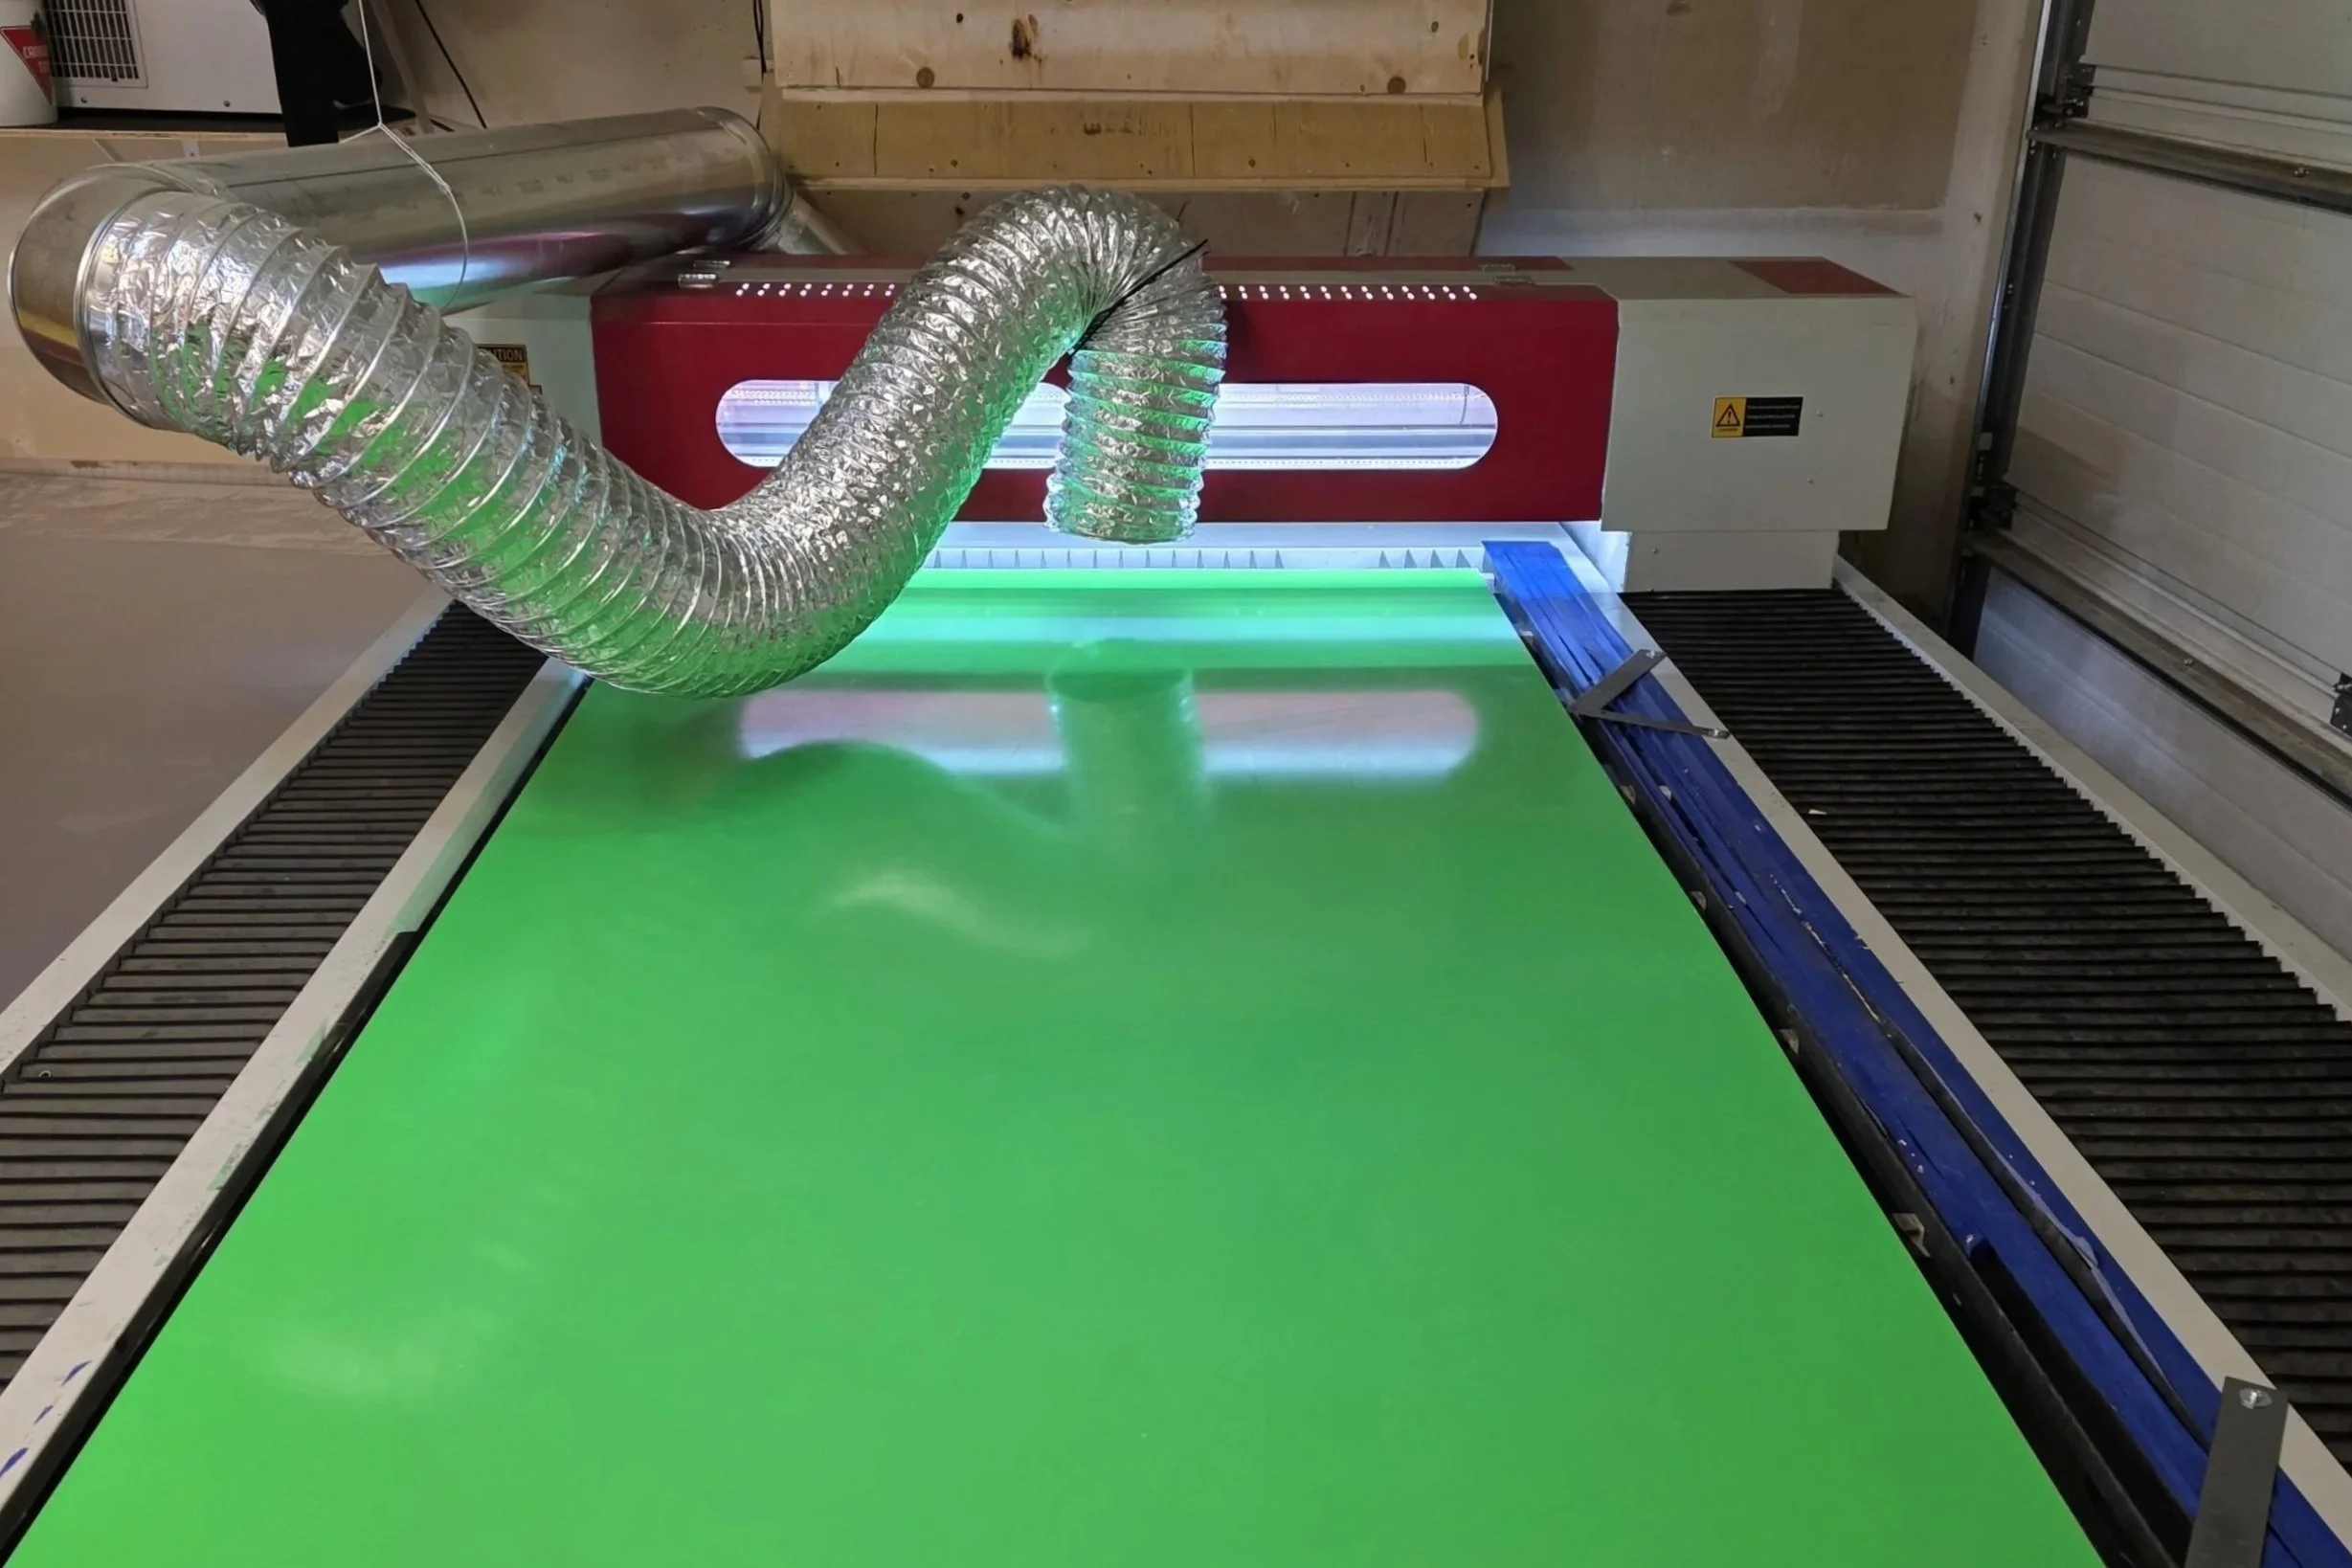
The reference page for how a CO₂ lasers works. A little understanding can help a lot when something goes wrong.
Every troubleshooting question on this site links back to this article. Common laser questions about melting, warping, rough edges, partial cuts trace back to a handful of things:
Power
Speed
Optics
Air-Assist
This is the one page that explains everything. This way our troubleshooting articles can stay focused on your specific problem instead of re-teaching the basics every time.
Jump to a section, or read straight through
Laser Types
Different lasers do different things. Choose the right tool for the job.
DIODE LASERS
A compact, low cost laser built around the semi-conductor industry. The same technology as a laser pointer and barcode reader.
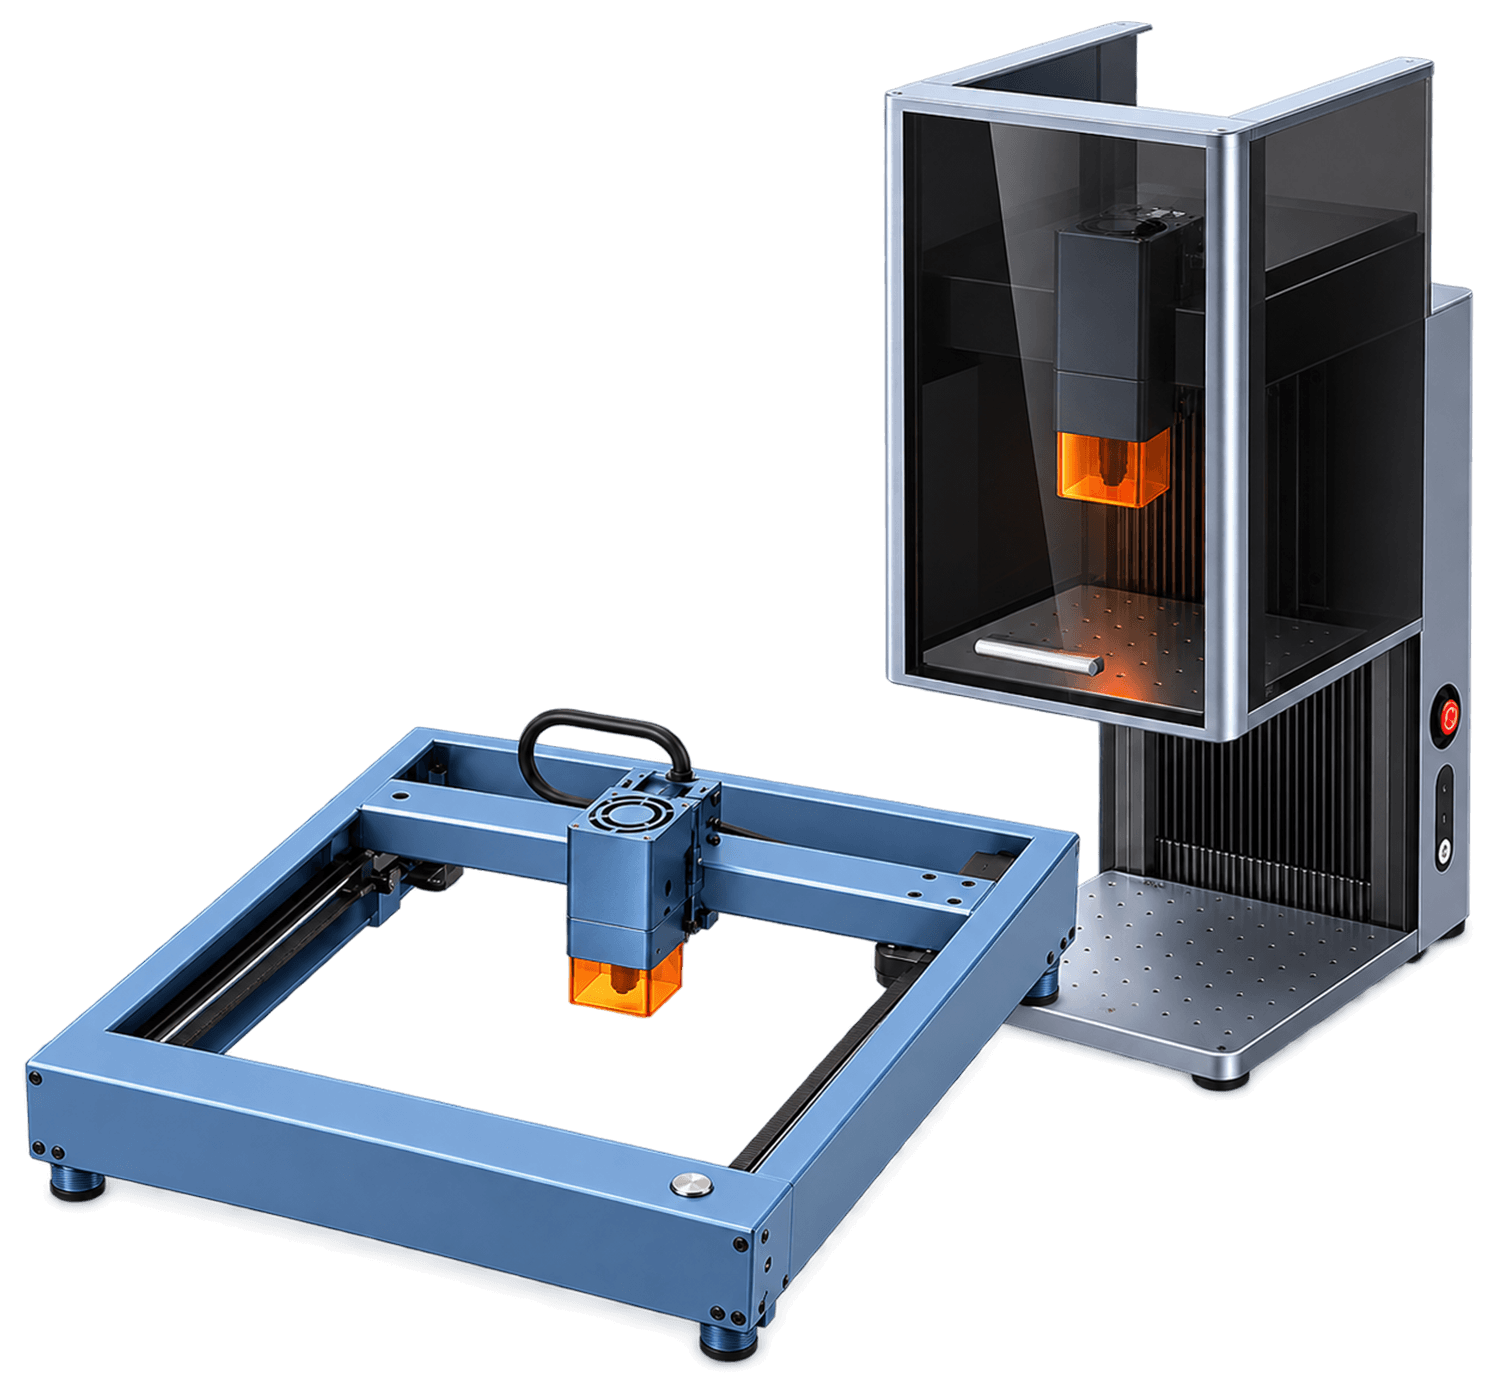

BEST AT ENGRAVING
Dark non-reflective materials like:
Wood

Leather
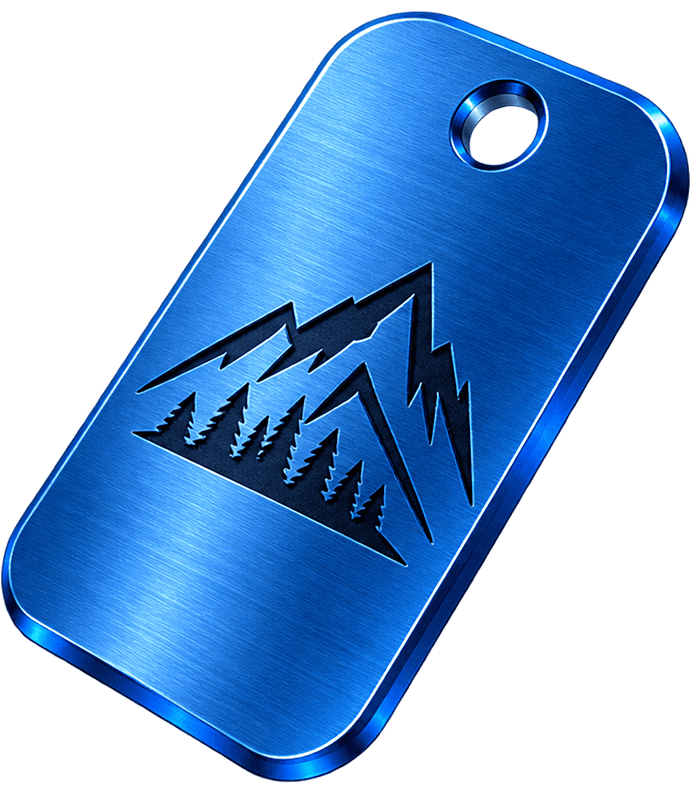
Anodized Metal
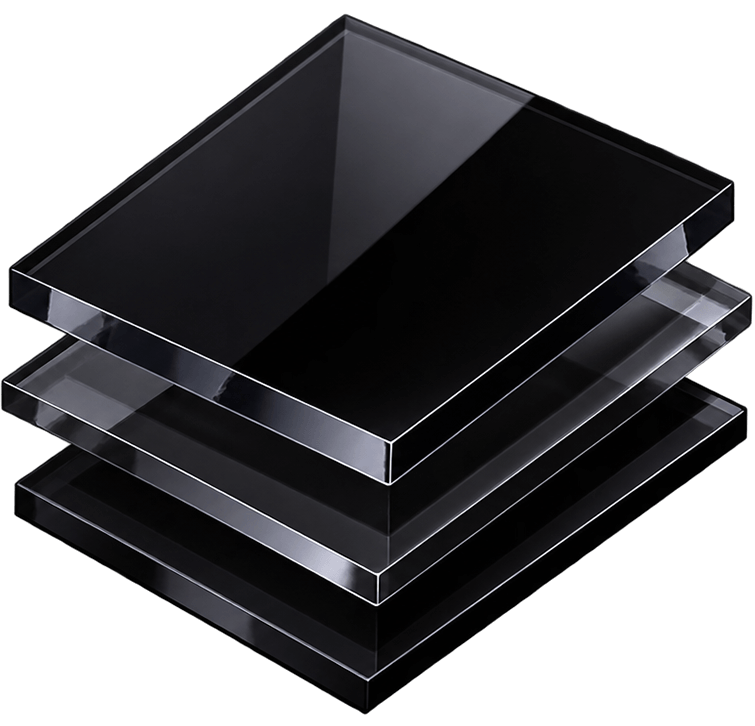
Dark Acrylic

DIODE LASERS WILL CUT SOME MATERIALS BUT NOT ALL
Works best on wood, dark acrylic and leather.
Will not cut clear, light colors, or mirrored acrylic

Diode lasers are built for affordability and their compact size. The are great for engraving but limited at cutting when compared to CO₂.
CO₂ LASERS
Industrial cutters designed for continuous operation.
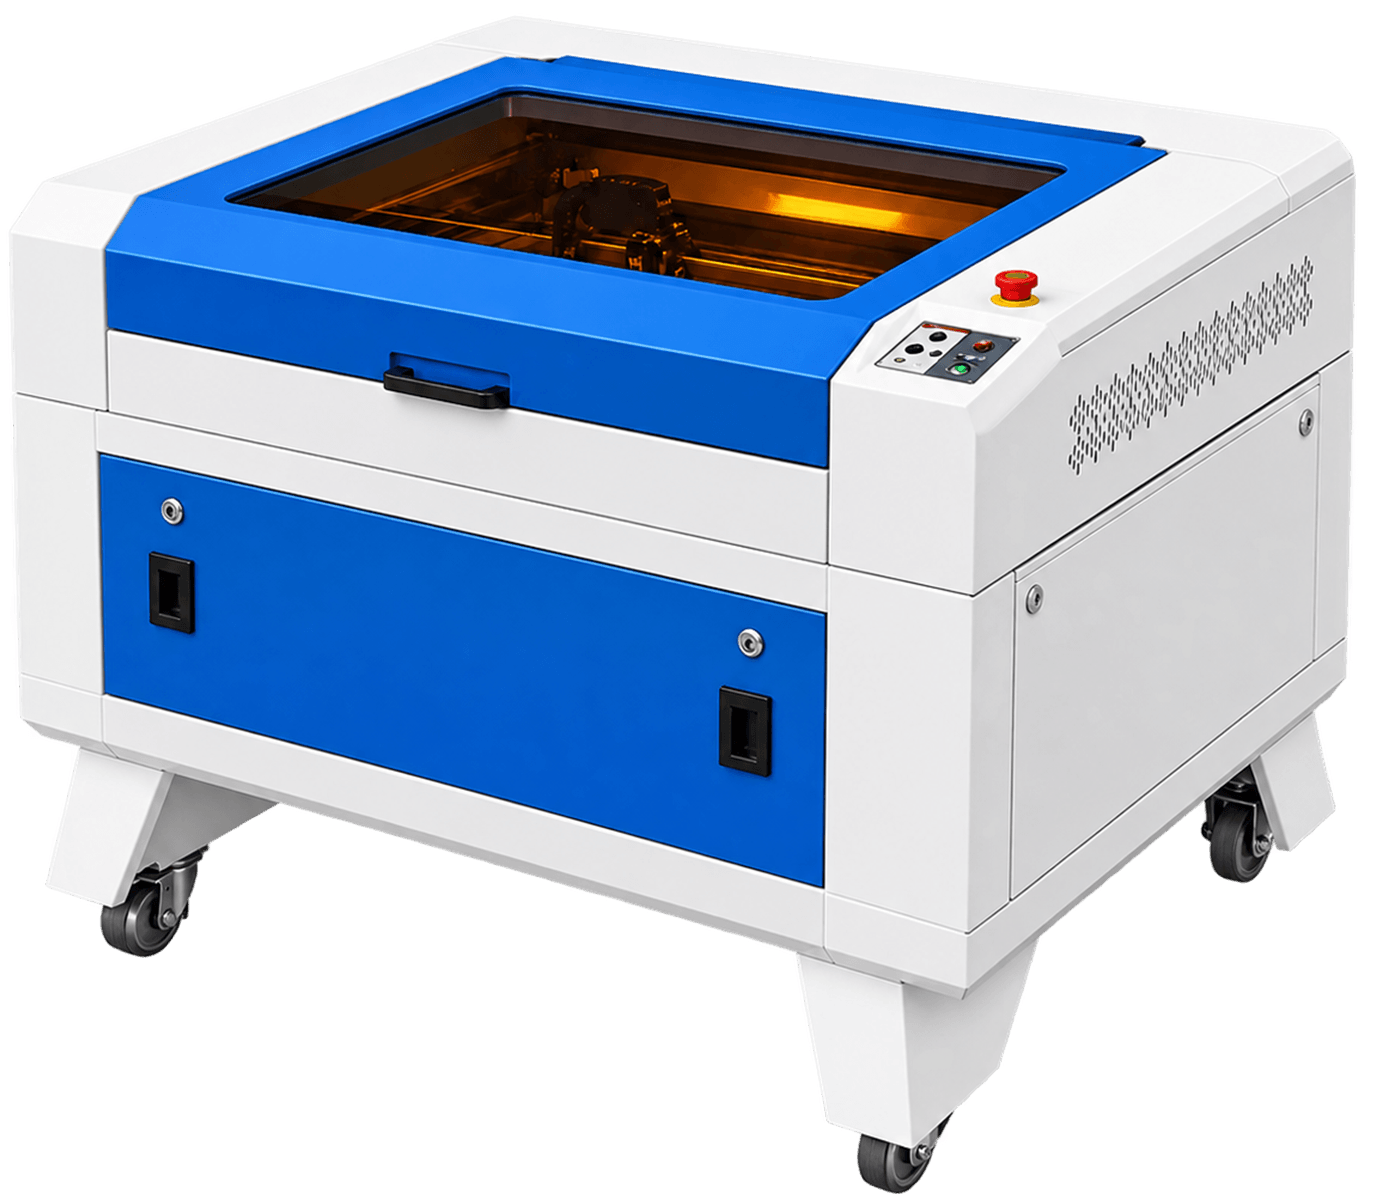
BEST AT CUTTING & ENGRAVING
Organic and non-reflective materials like:
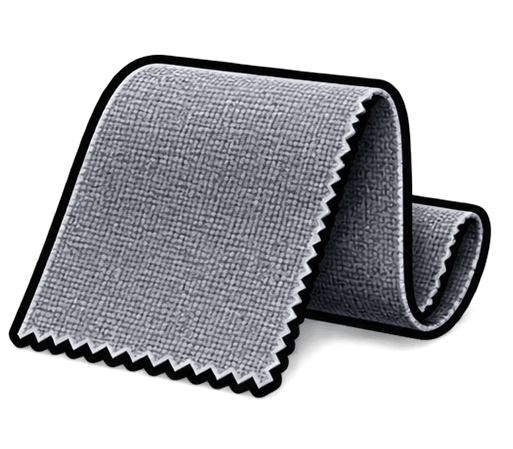
Fabrics
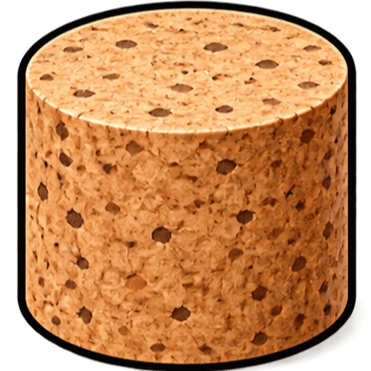
Cork
Leather
Paper
Wood
Plastics
CO₂ WILL CUT METAL BUT WIT CAVEATS:
Has to be thin, mild or stainless steel and requires oxygen instead of compressed air. The beam bounces off instead of being absorbed and damage your optics if you are not careful. If you are cutting metal, fiber lasers are the way to go..
CO₂ lasers are great for detailed engraving work and cutting thin materials with precision rather than speed and throughput.
FIBER LASERS
Fiber lasers are designed to send power down a fiberoptic tube for the purpose of cutting and engraving metal.
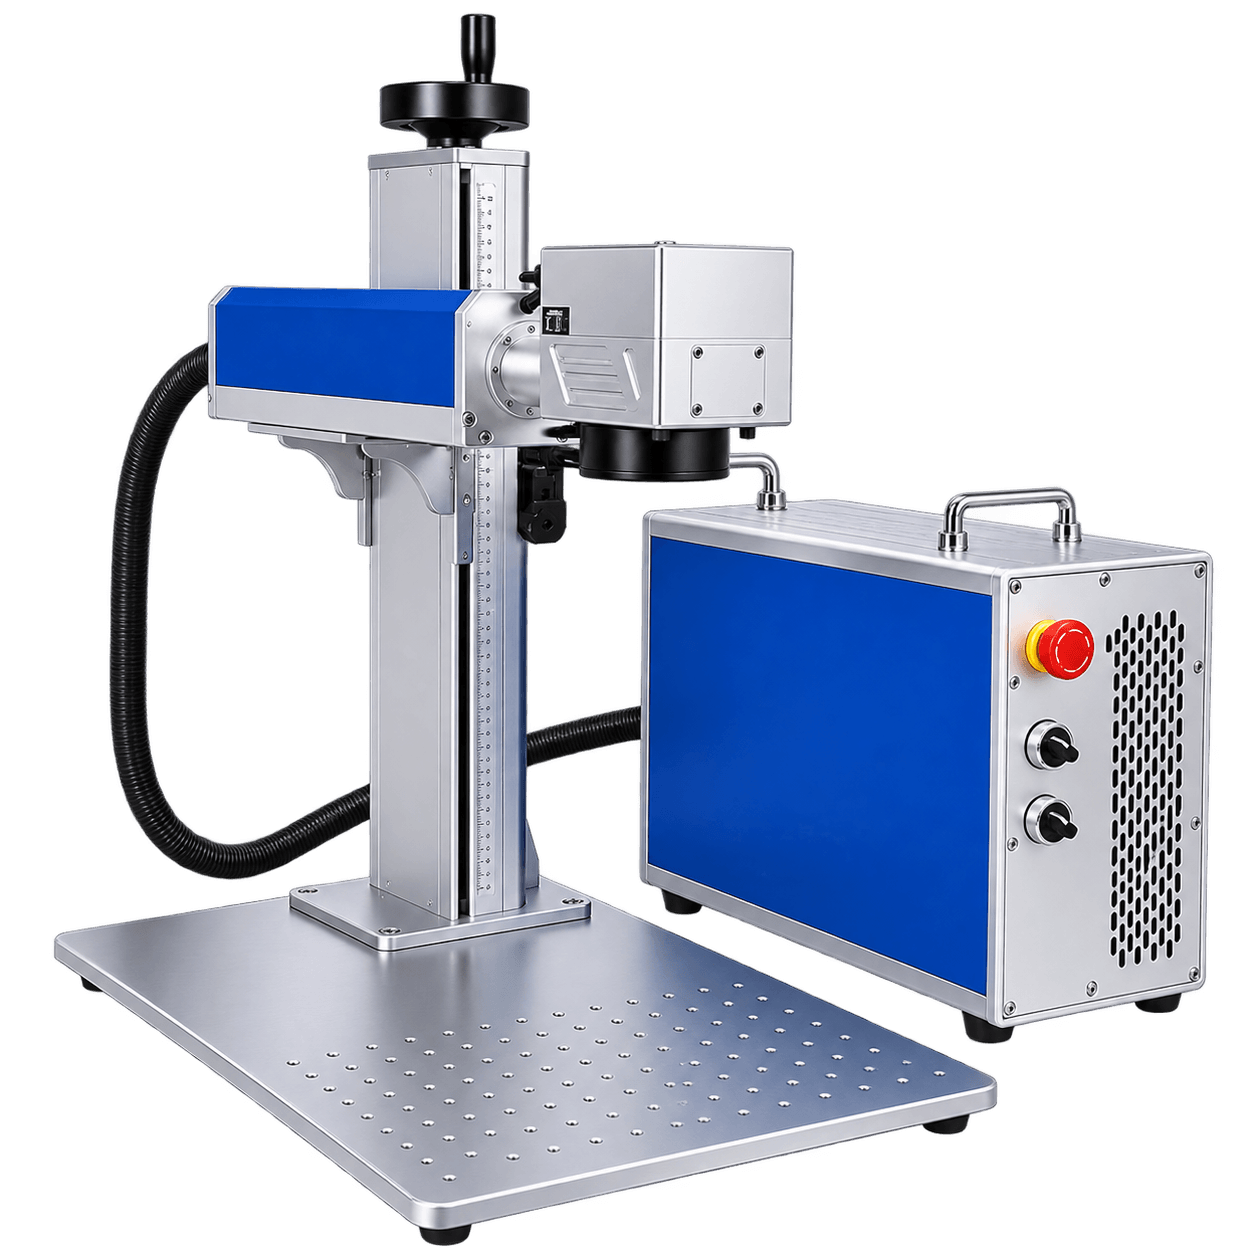
BEST AT CUTTING & ENGRAVING
Organic and non-reflective metals:
Gold
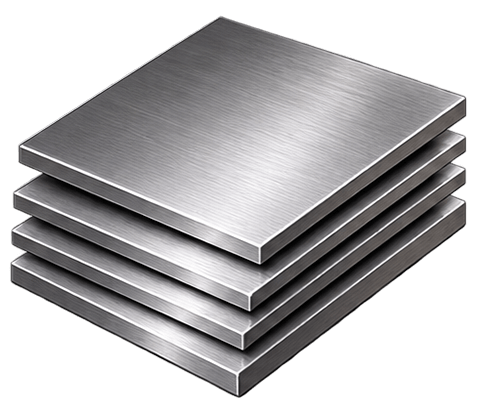
Stainless Steel
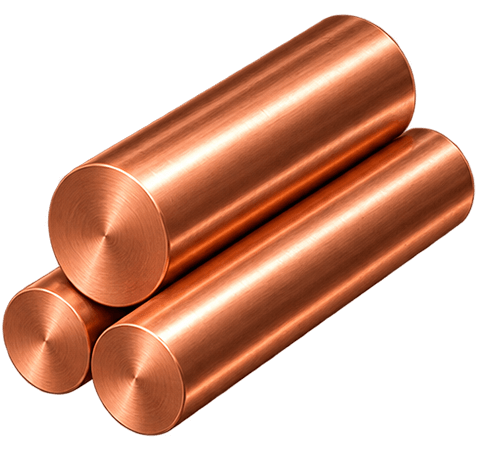
Copper
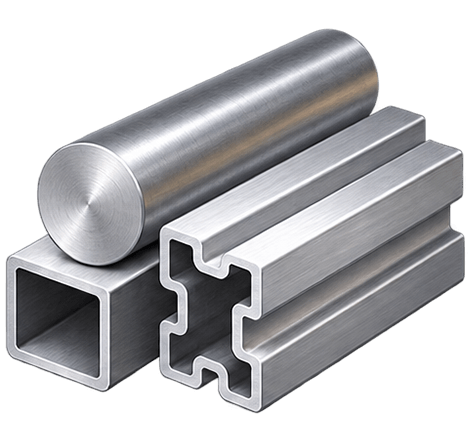
Aluminum
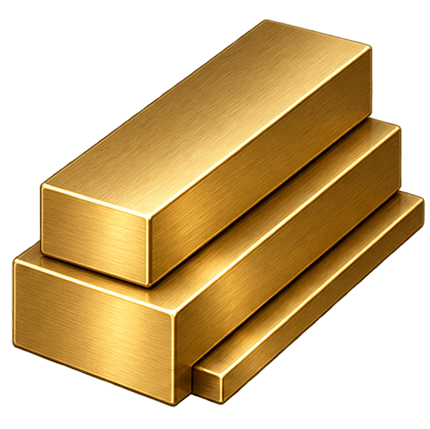
Brass
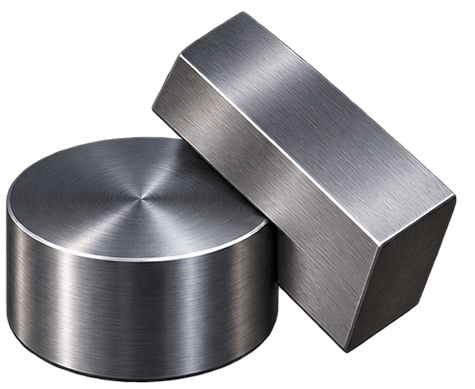
Titanium
2 TYPES OF LASERS AVAILABLE
Desktop Engraving: 20 - 100W
Industrial Cutting: 1 - 30kW+
FIBER LASER LIMITATIONS
It will not cut wood, leather and most plastics. They tend to burn rather than cut.
Will not cut clear , light colors, or mirrored acrylics
The Variables That Control a Laser Cutter

Every cut you’ve ever made comes down to four things
Power
The amount of energy generated by the laser tube.
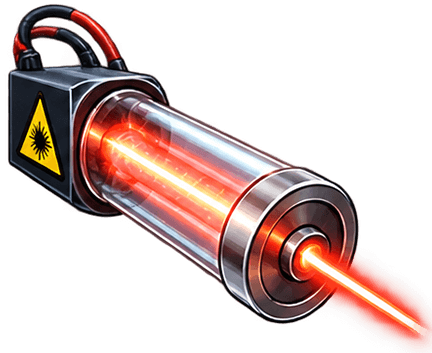

GENERATES HEAT
Better optics = more energy at a smaller spot size.
Speed
The length of time the energy stays in one place.
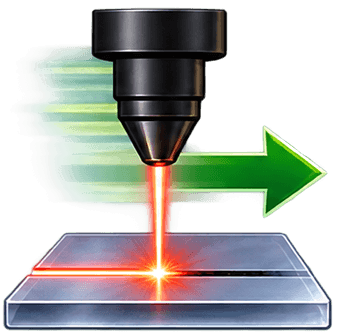

CONTROLS HEATING TIME
Slower speed →more time → more heat.
Faster Speed → less time → less heat
Optics
How much of that energy reaches the material and how concentrated is the beam.
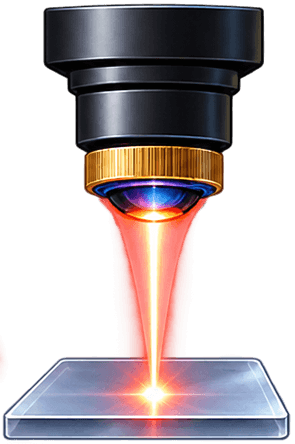

DELIVERS & FOCUSES HEAT
Better optics = more energy at a smaller spot size.
Air-Assist
Clears the heat, vapors and debris from the cut.
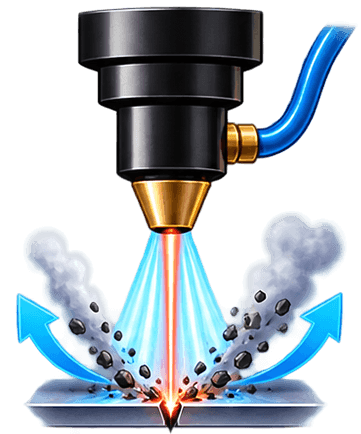

CLEARS HEAT & DEBRIS
Keeps the cut clean, prevents re-melting and reduces heat buildup.
ALL FOUR ARE ABOUT ONE THING: MANAGING HEAT.
Power generates the heat.

Optics delivers and focuses the heat.

Speed controls how long the heat stays in one place.

Air-Assist clears heat and debris away.

Learning about these four variables can help you diagnose almost any acrylic problem without guessing. Before things get spicy
POWER
The energy behind the cut.
Power is the term used to describe how much energy the laser is producing and applying to the material at any given point.
These settings are usually set inside the cutting and engraving program when you are designing the job. In most cases, you can also adjust the power settings at the machine for fine tuning or adjusting based on the material you are using.
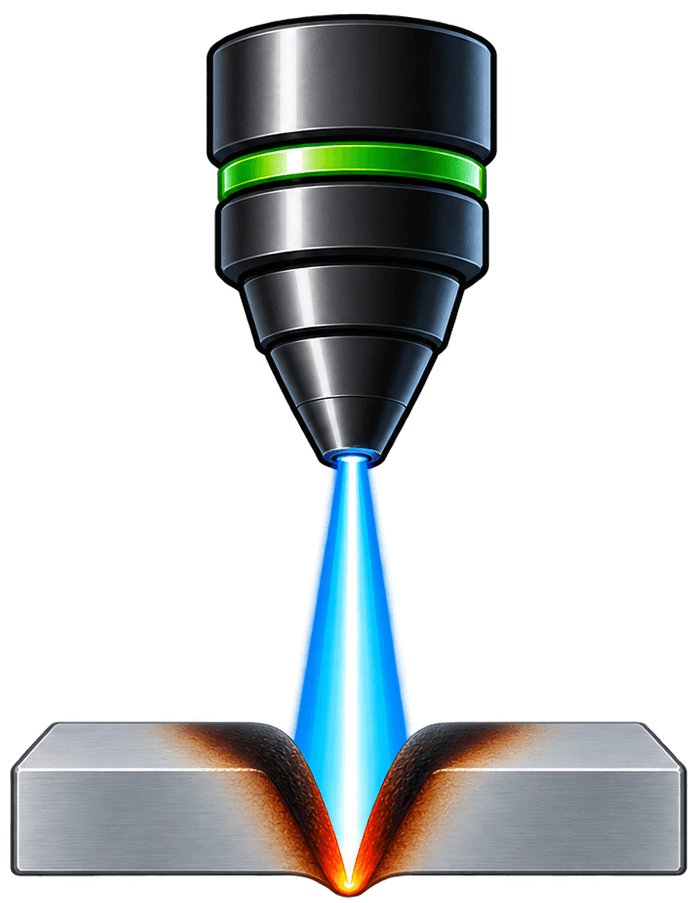
TOO MUCH POWER
The heat will spread into the material you didn't want to touch.
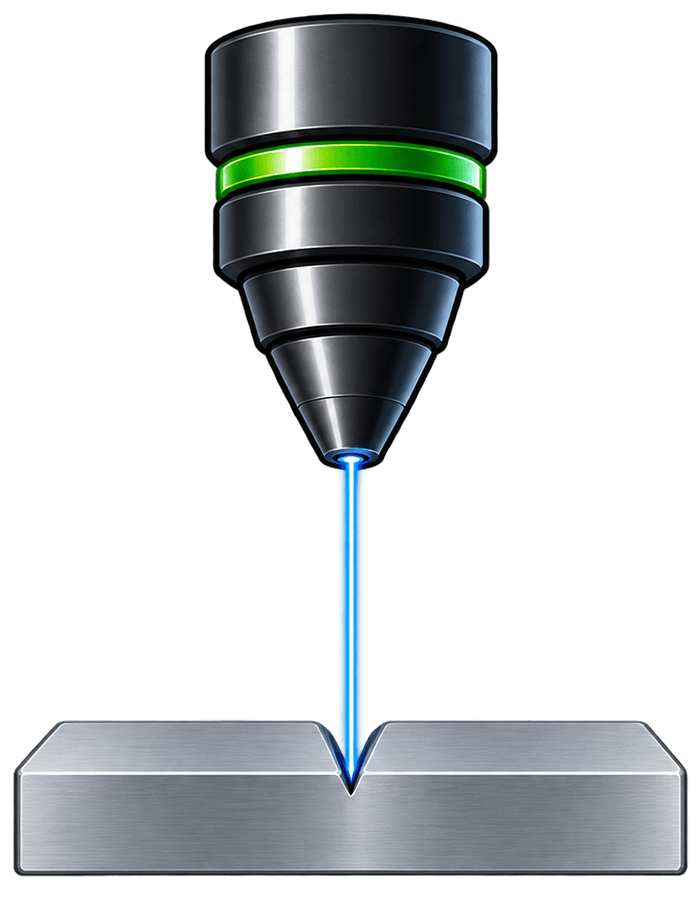
TOO LITTLE POWER
the beam can't fully vaporize the material.
KNOW YOU LIMITS
Going above and beyond the max rated safe operational power will reduce the laser tube life.

Always check and follow the laser manufacturers recommendations for power limitations.
Most laser tubes will last thousands of hours before losing power and needing replacement.
WON’T CUT
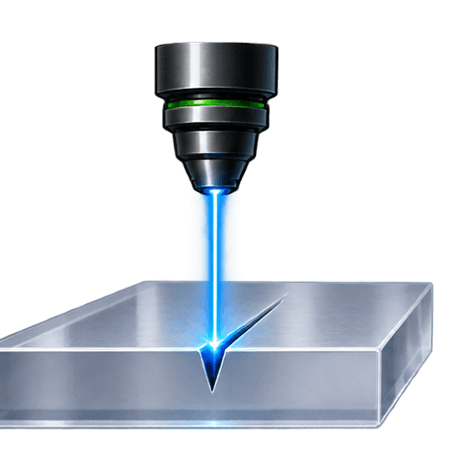
The power is too low, there is not enough energy to get through the sheet.
ROUGH EDGES
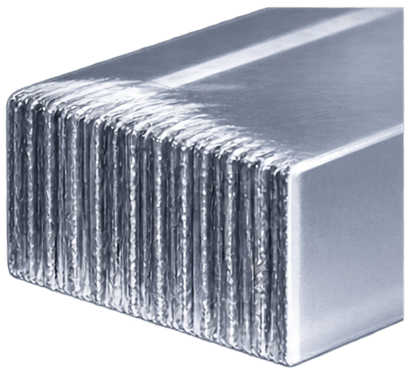
Too little power will “tear” through the material instead of cutting clean.
Too much power will melt and round the edges.
MELTING
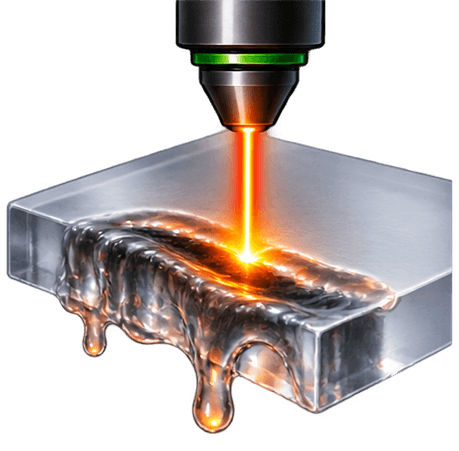
Too much power (paired with too little speed) is one of the two main causes of melting Acrylics.
ENGRAVING TOO DEEP
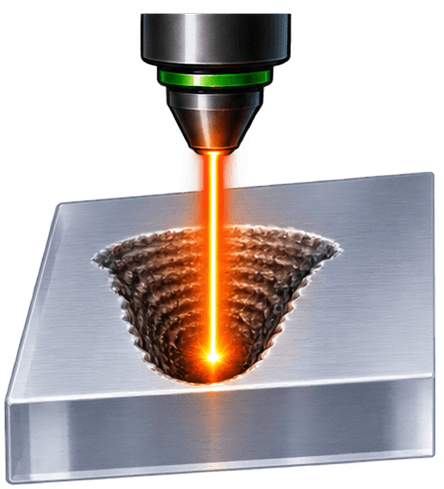
Too much power is often the cause. Check the power settings before touching optics.
WARPING
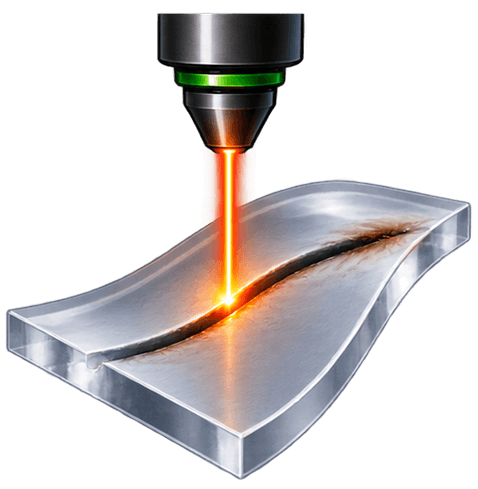
Too much power puts more heat into the sheet than it can shed. As the heat spreads, the internal stresses warp the sheet.
FIRE
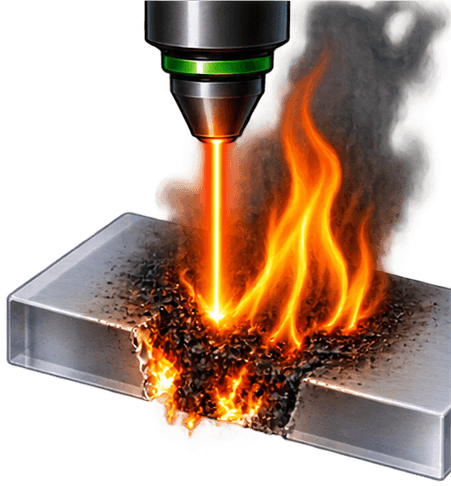
Way too much power & not enough speed. The heat builds faster and hotter than the material can handle.

GETTING IT RIGHT

START WITH KNOWN GOOD SETTINGS
Always test first on some scrap. Never guess at the settings with a new or production piece

MAKE SMALL ADJUSTMETNS & RECORD EVERY CHANGE
Always test first on some scrap. Never guess at the settings with a new or production piece
Optics
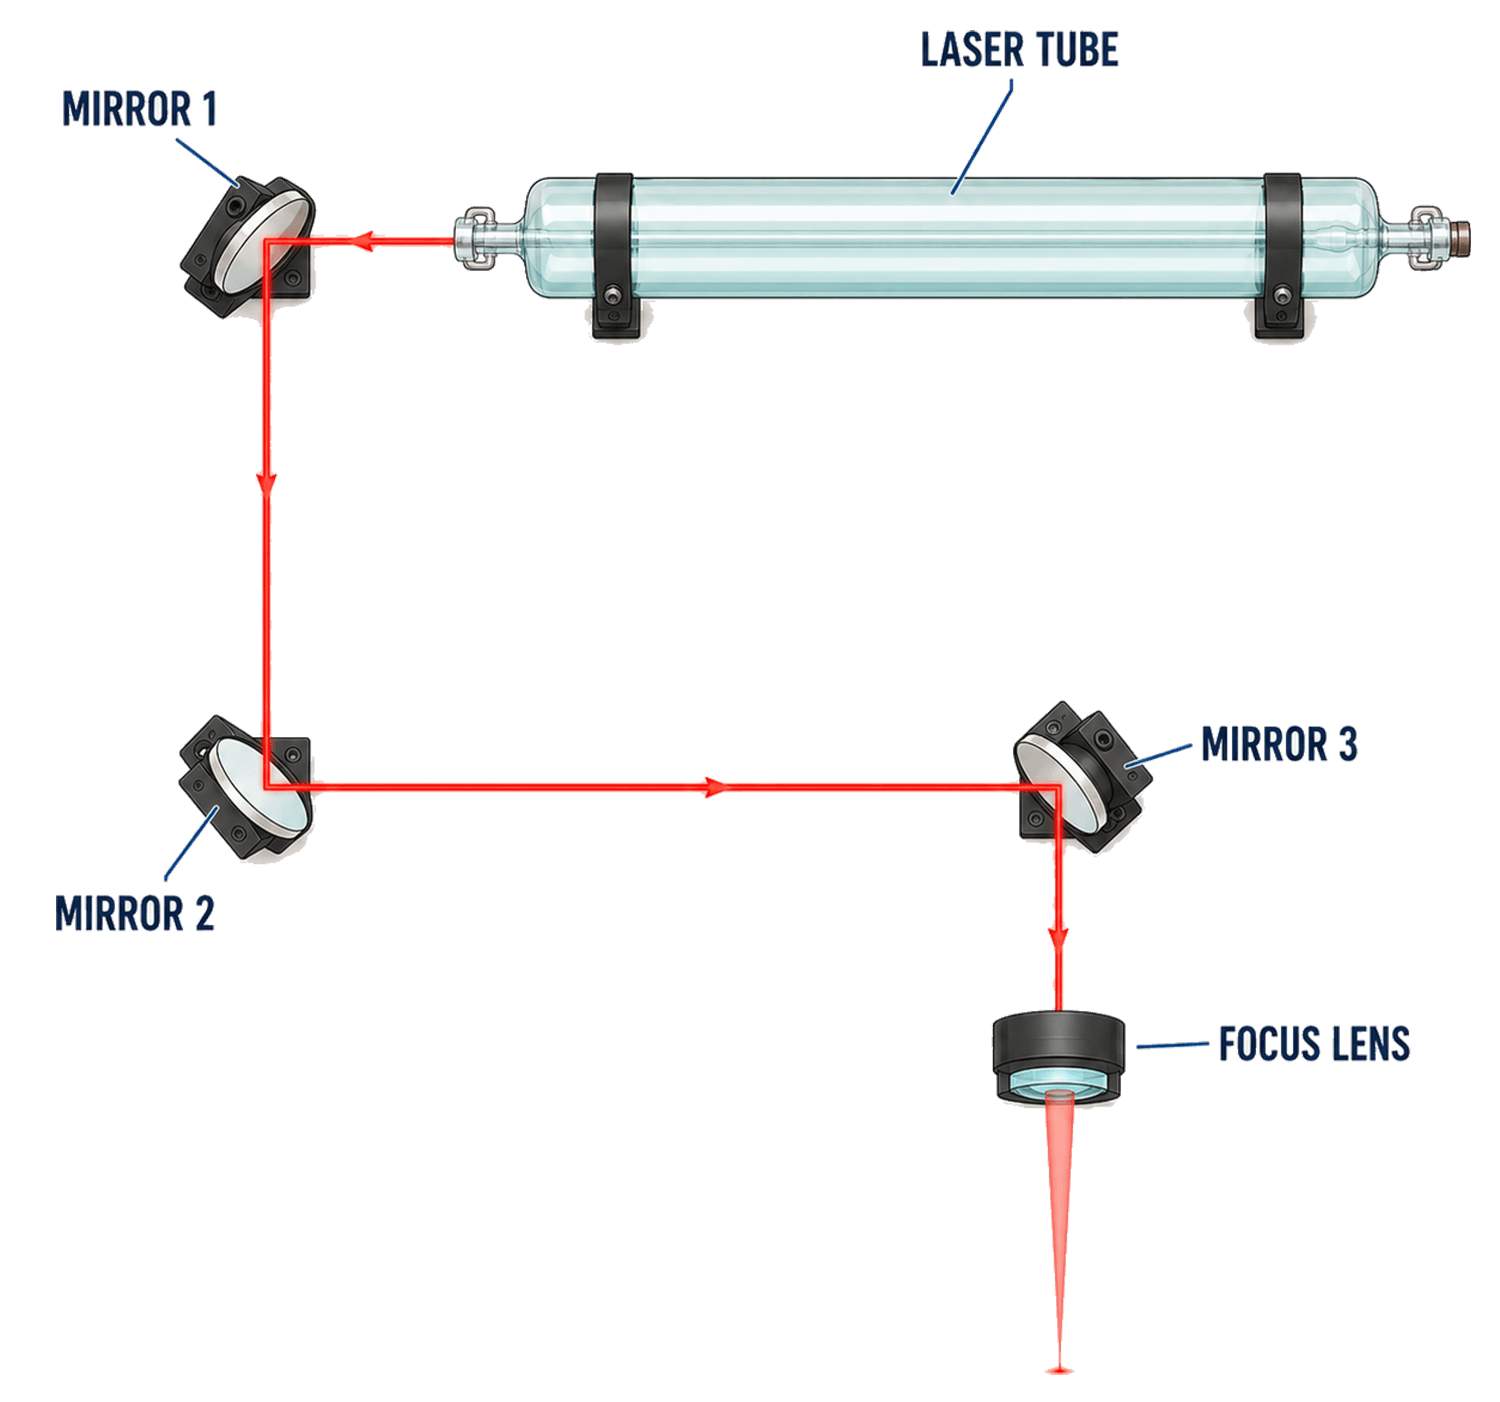
Mirrors and lenses deliver the beam from the laser tube to the material. They need to be clean, aligned properly and made from a suitable material that can reflect the laser beam properly.
HOW THE BEAM TRAVELS
The beam leaves the laser tube, reflects off three mirrors, then passes through the focus lens before hitting the material.
COMMON SIGNS OF AN OPTICAL PROBLEM
Rougher edges
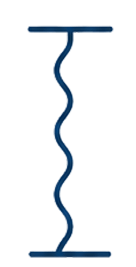
Wider cuts
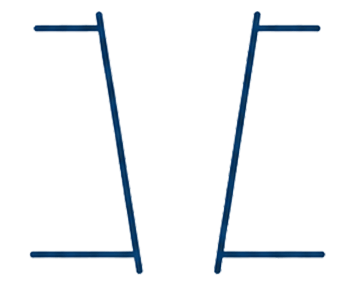
Weaker cuts

Blurry engraving

When the performance of your laser starts to drop, the problem is often in the optics, not the laser tube.
MAINTENANCE
1. Clean the optics
Use an appropriate lens cloth and optical cleaner. We use generic lens cleaners with isopropyl alcohol.
2. Check the focus
Use an un-cooked spagheto (a single piece of spaghetti) to find the rough focal distance and use a millimeter step gauge to make fine adjustments.
3. Check the alignment
Fire low power pulses and adjust the mirrors so the beam aligns in the center.
TROUBLESHOOTING
Losing Power
→
clean the lens and mirrors, then check the alignment
Rough edges
→
Secure the lens and check the 3rd mirror
Fire risk
→
Remove the smoke and soot build up before adding power
Uneven cutting
→
Repeat the same test in several other places on the bed
Out of focus
→
Clean the lens, confirm the lens type, then check the z-height.
Speed
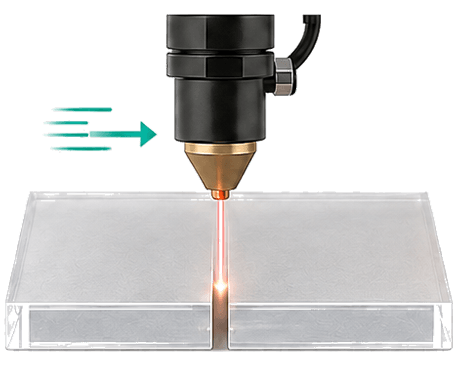
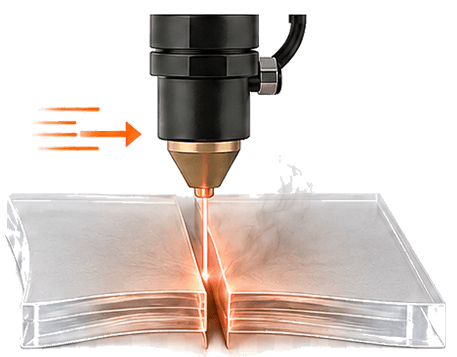
The speed setting in the laser controls how long the beam stays in one place
TOO FAST
BALANCED
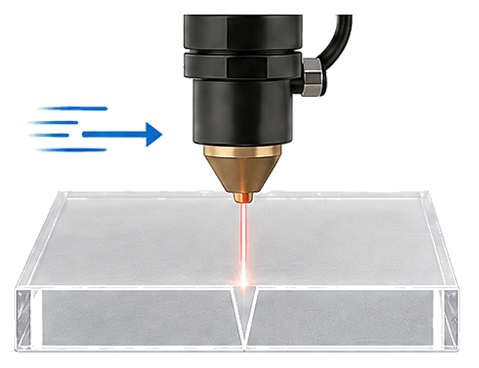
TOO SLOW
FAST
SLOW
The relationship between speed and heat
Too Fast - The laser beam doesn’t spend enough time to cut the material.
Too Slow - The laser beam will overheat and warp the material or worse, light it on fire.
What a speed problem looks like

Won’t cut - speed may be too fast

Rough edges - too fast and the edges will have vertical cut lines on the edges. Too slow and the kerf will get wider

Melting - The speed is too slow for the power setting

Engraving is too deep - the speed may be too low

Warping - the laser is too slow and the excess heat is building up around the cut line

Fire - slow cutting will lead to a build up of heat and combustible vapors
Getting it right
Always test your setting on small scrap pieces. Make small incremental changes and record the results. Power and speed usually need to be adjusted together.

If you think you have a heat problem, Increase the speed by 10-15% before adjusting the power.
Air Assist
An air pump blows hot gases, smoke, and melted debris out of the cut path before they can re-deposit, re-melt, or ignite.
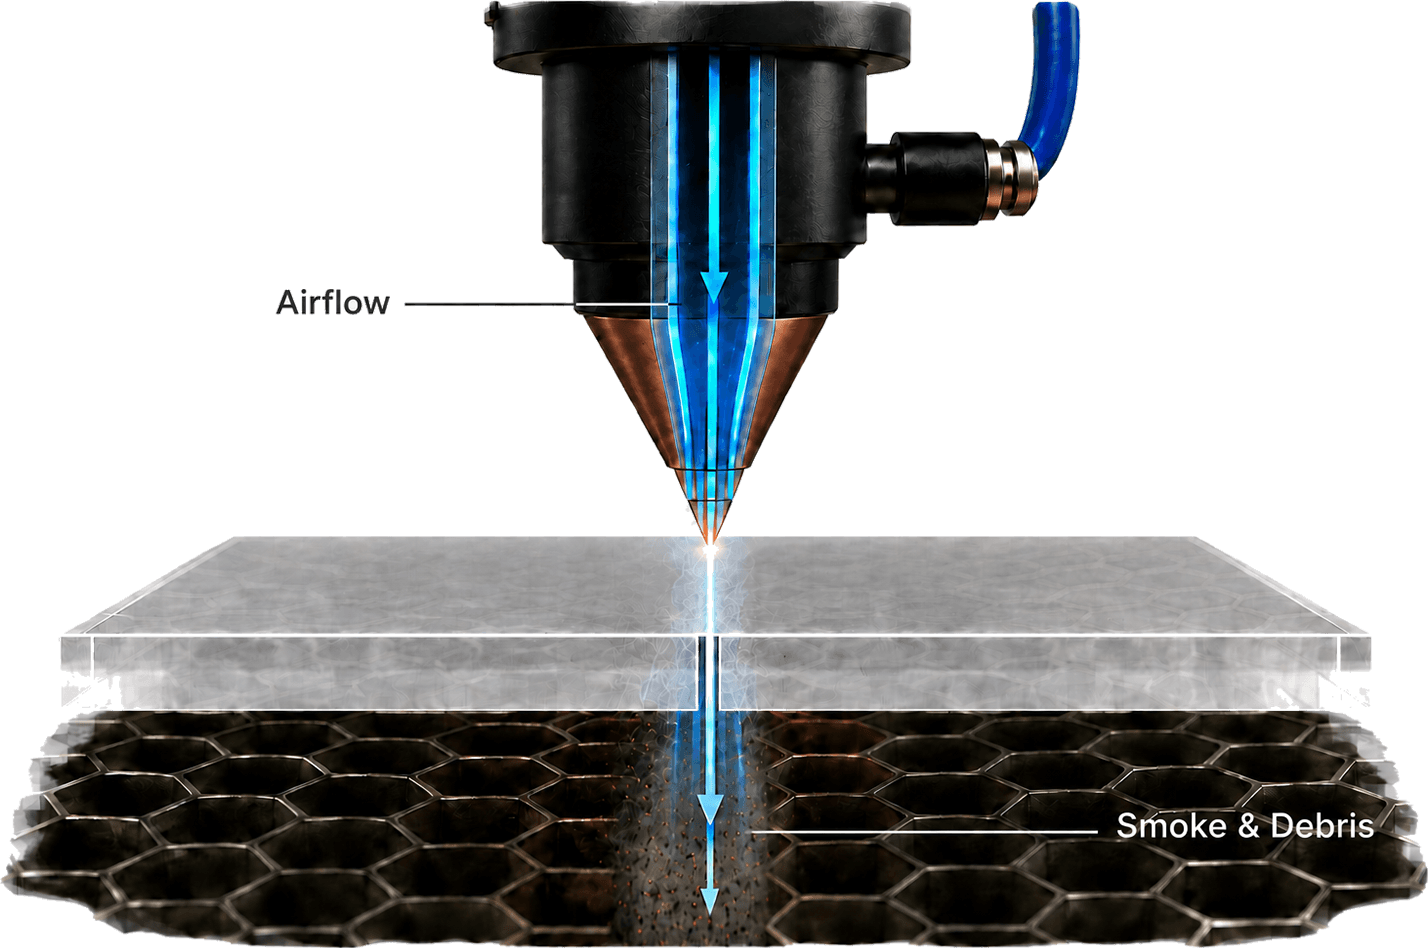
The air assist does double duty: it clears the cut line and manages the heat. Cutting thicker material requires more are than thinner material and engraving requires none. Before loading material into your laser bed, check your air source to make sure you have adequate airflow. A lot of the soot, burning, dull and haziness is a result of poor airflow.
Getting it right
Confirm the compressor is producing strong, consistent airflow.
Check for a blocked nozzle or a kinked line. A weak flow at the nozzle can come from either problems.
Fire → poor air assist is the most common cause of a flames and flare ups. It happens when small pieces fall through the bed and allows for the smoke and vapors to contact the laser beam.
Melting → The air clears hot gas and debris before they heat and distort the surrounding material. Make sure there is enough flow to do the job.

Soot/smoke on the acrylic → poor air assist and exhaust is not clearing the smoke fast enough. The soot collection tells you whether it's an airflow or a cutting problem.
Dull/hazy engraving → We will use the air assist for all cutting and some engraving. For deeper engravings that are going to be painted, we will us a little air to prevent fouling the lens. We do not use any air assist for engraving 2 toned plastics.